How to Photograph Outdoors in Any Weather
Most people wait for a clear, calm day. Then they take the same photo everyone else takes.
Weather is not the enemy of outdoor photography. It is where the most interesting photos live.
Fog adds mood that no filter can fake. Rain turns pavement into a mirror. Snow strips a scene to shapes and silence.
Here is how to work with each one.
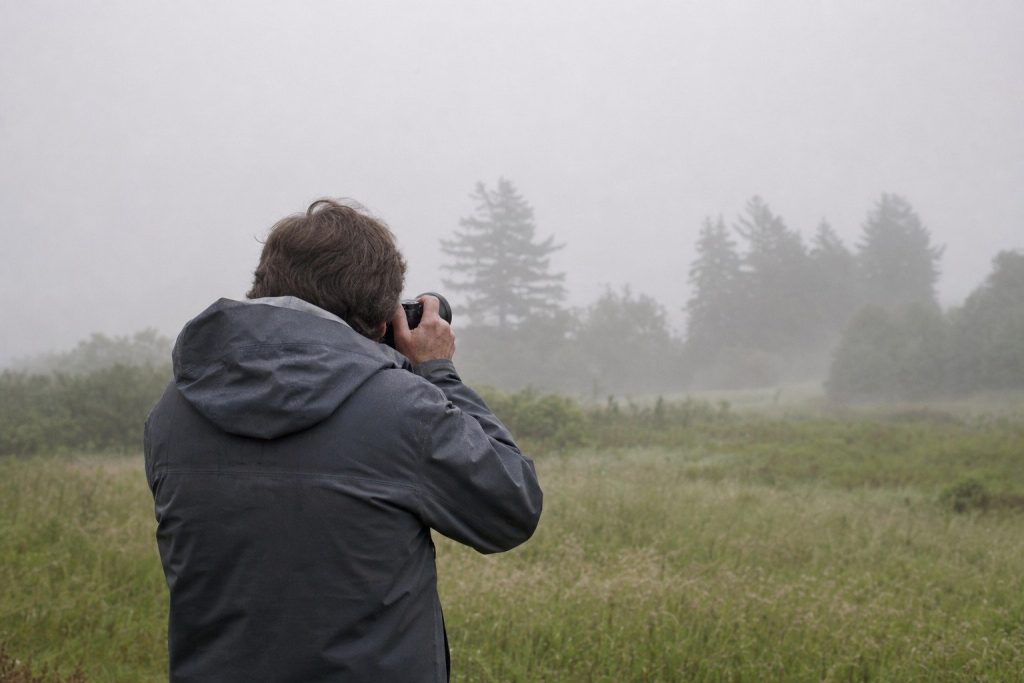
Fog and Mist: Shoot Early and Keep It Simple
Fog is most dramatic in the first hour after sunrise.
By mid-morning it usually burns off, so this is not a sleep-in situation.
Fog compresses depth and strips a scene to its essentials. A line of trees that looks ordinary on a clear day becomes a row of silhouettes. A path disappearing into white becomes a natural leading line.
The clutter that normally complicates a photo just disappears.
Because fog flattens and softens, simple compositions work best in these conditions. One strong subject, one clear direction.
Less is more.
Expose for the mist, not the shadows. Cameras often try to darken a foggy scene because of all that pale gray. Add half a stop of exposure compensation to keep the fog white and airy rather than muddy.
A foggy morning that looked uninviting at 6am often produces the best photos of the year.
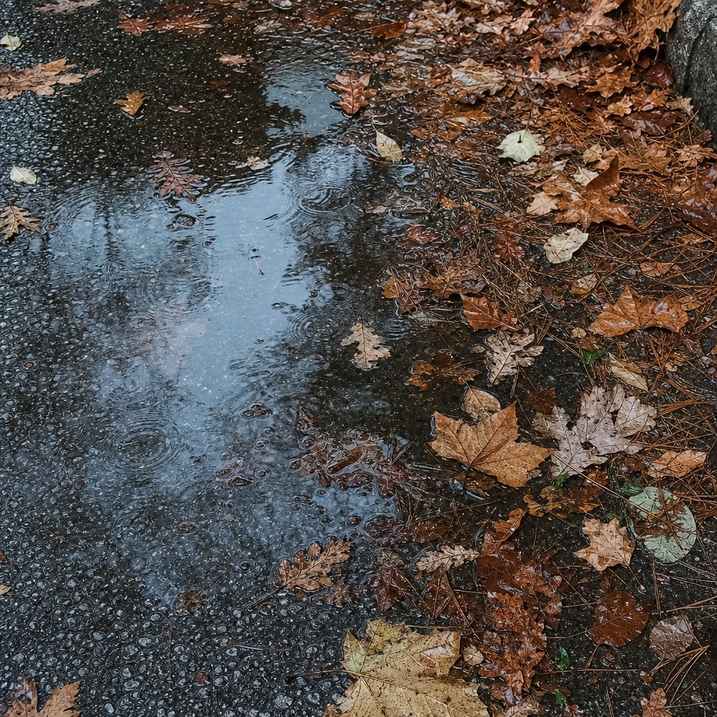
Light Rain: Use the Wet Surfaces
Rain is uncomfortable to stand in. It is excellent for photography.
Wet pavement, leaves, and rocks reflect light in a way dry surfaces never do. Puddles become mirrors. A sidewalk after rain glows under a streetlight.
Even a wet rock face takes on color and depth that it loses the moment it dries.
The practical concern is the gear. A cloth or a zip-lock bag over the grip keeps rain from getting into ports and buttons on a phone or entry camera.
Shoot from under an overhang or an umbrella if the rain is heavy.
Point the camera toward a puddle at a low angle and apply the same framing instincts that work in any outdoor photo.
Reflection shots work best when the puddle surface is still. Wait a beat after raindrops disturb it.
Wet pavement, leaves, and rocks reflect light in a way dry surfaces never do. Rain makes everything more interesting to look at.
Snow: Add Exposure, Watch the Battery
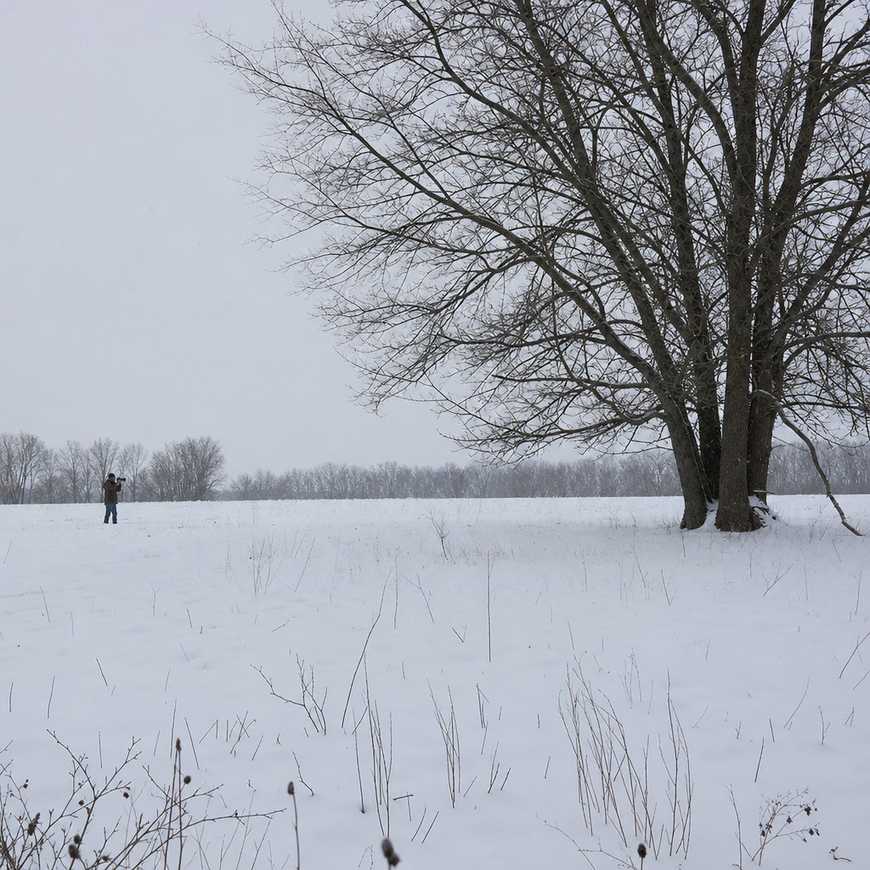
Snow is one of the trickier conditions for a camera to read correctly.
A camera’s meter tries to render the world at a neutral gray, which means it makes snow look dingy and underexposed.
Fix this by dialing up your exposure compensation. Start with plus two-thirds of a stop. If the snow still looks gray in the preview, add more.
The goal is white snow, not light gray snow.
Cold kills batteries faster than anything else. A battery that shows 40% in warm indoor air can drop to zero within minutes in freezing temperatures.
Carry a spare in an inside pocket where body heat keeps it warm, and swap them out as needed.
Overcast light works well for snow because it keeps the scene even. Bright sun on fresh snow can blow out the highlights completely.
Bright Harsh Sun: Find Shade or Use Backlight
Overhead sun is the hardest light of the day.
It drops hard shadows under noses and chins, blows out the brightest spots, and flattens everything it touches.
The two reliable fixes are shade and backlight. Open shade, the shadow of a building or a big tree, gives soft, even light that works for almost any subject.
Backlight, with the sun behind your subject, rims them with a bright outline and turns the background warm.
A few steps to the left or right can move a subject from blown-out sun into workable shade. Neither fix requires moving far.
If shade is not available, wait. The sun drops fast in the late afternoon, and the quality of natural light outdoors changes completely once it begins its descent.
An hour later it may be perfect.
Midday sun is the hardest condition to make work. It is not the one to practice on.
Wind: Faster Shutter, Steadier Position
Wind creates blur in two ways. It moves your subject, and it moves you.
Raise your shutter speed to stop motion. For a branch or a wildflower swaying in the breeze, start at 1/500s.
For faster movement, go higher.
Most phones and cameras let you set shutter priority mode. Sport mode does the same automatically.
Plant your feet, tuck your elbows, and brace against something solid. A wall, a tree, a fence post.
Any reduction in your own movement improves the shot.
Alternatively, embrace the blur. A long exposure on a windy day turns a field of grass into flowing water.
Go Out Anyway
The instinct to wait for perfect conditions makes sense. It also means the camera stays home a lot.
Weather changes what a familiar place looks like. The park on a foggy morning does not look like the park on a sunny afternoon.
The path after rain is a different scene entirely.
Getting out in difficult conditions builds a skill that good weather never requires. The photos come back different: moody, specific to a moment in a way that a clear afternoon rarely is.
The best weather for photography is the weather that is actually happening.
Recent Comments