Reading Natural Light for Better Outdoor Photos
Two people stand in the same spot with the same phone. One photo comes out flat and gray. The other glows.
The difference is almost never the gear. It is the light.
Light is the one part of outdoor photography you cannot buy, and the one that changes everything else. Learn to read it, and your pictures get better before you touch a single setting.
Soft Light Is the Easiest Light

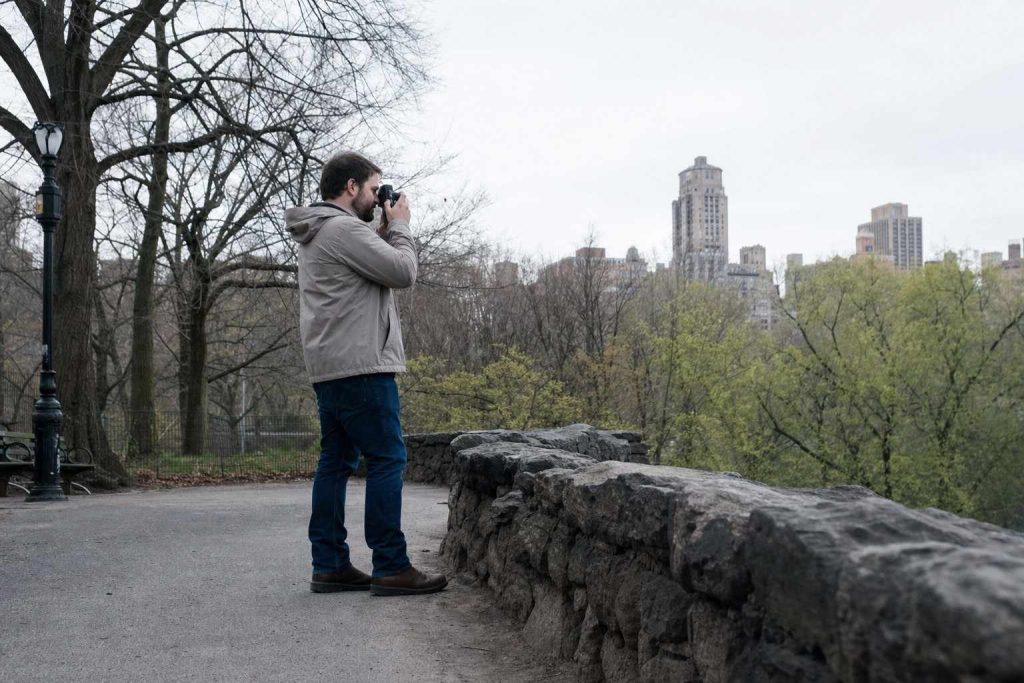
A bright, overcast sky works like a giant softbox. It spreads light evenly, wraps gently around a face, and erases the harsh shadows that wreck midday photos.
Overcast is not bad light. It is the most forgiving light there is.
So a gray afternoon is a fine time to photograph people, pets, and wildflowers up close, not a reason to leave the camera at home. When the sky is clear and the sun is high, you can make your own soft light. Move your subject into open shade, like the shadow of a building or a wide tree, where the light is still bright but no longer direct.
Cloud cover is a portrait studio you never had to rent.
Golden Hour, and Why Everyone Chases It
The hour after sunrise and the hour before sunset get all the attention for a reason. The sun sits low, so the light arrives from the side, warm and gold, raking across the scene and giving it depth.
- Faces look healthy instead of washed out.
- Wide scenes gain long shadows and texture.
- Plain backgrounds turn warm and glowing.
There is one catch. Golden light moves fast. Get to your spot early, know roughly what you want, and keep shooting. The best minutes can be gone in ten.
The sun sits low, so the light arrives from the side, warm and gold, raking across the scene and giving it depth.
Midday Sun Is Hard, But Not Hopeless

When the sun is straight overhead, it drops shadows into eye sockets and blows out the brightest spots. It is the toughest light of the day, but three simple moves rescue it:
- Find shade and place your subject at its edge, facing the open sky.
- Turn them around so the sun is behind them, then expose for the face.
- Use the sun as a backlight to rim hair and leaves with a bright outline.
None of this needs special equipment. It needs you to spot the problem and move a few feet.
Harsh light is not a dead end. It is a cue to reposition.
Which Direction Is the Light Coming From?
Once you can see how soft or harsh the light is, look at where it comes from. Direction is what gives a photo its mood.
- Front light, with the sun behind you, is even and safe but a little flat.
- Side light rakes across a subject and reveals texture, which is why it flatters bark, stone, and close-up outdoor detail.
- Back light sits behind your subject and creates glow, halos, and silhouettes.
There is no single right answer here. Front light keeps things simple. Side light adds drama. Back light adds atmosphere.
Build One Habit: Look for the Light First
Before you raise the camera, pause for a second and answer three quick questions.
- How hard is the light, soft or harsh?
- Which direction is it coming from?
- Can I move my subject into better light?
That pause is the whole skill. Read the light first, and the rest gets easier. Everything after it, from your phone’s camera settings to your composition, falls into place once the light is right.
Recent Comments