Simple Composition Rules for Better Outdoor Photos
Most outdoor photos that fall flat share one problem: the subject is centred, the background is busy, and everything competes for attention.
The fix does not live in a setting or a filter. Composition is decided before you press the shutter, and the rules behind it are simple enough to use the first time you try.
Here are six of them.
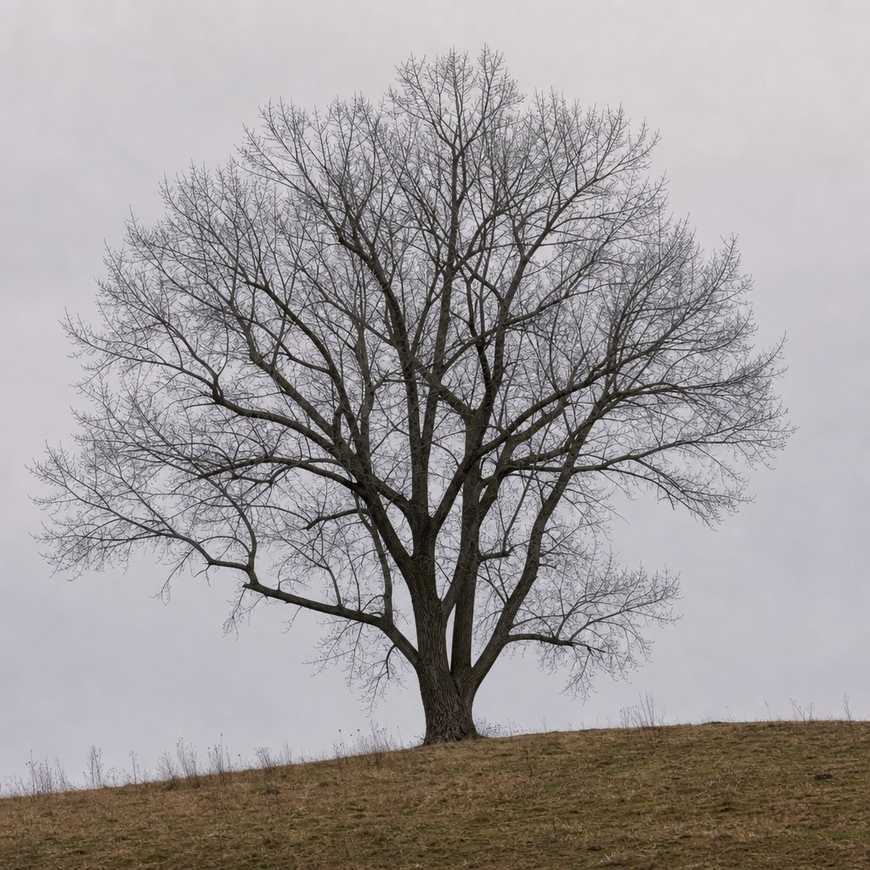
Put the Subject Off-Centre
The rule of thirds is the most used composition rule for a reason. Imagine your frame divided into a three-by-three grid of nine equal boxes. Place your main subject on one of the four corner points where the lines intersect, not in the dead centre.
A child at the left third with open space to the right feels natural and alive. A horizon sitting on the lower third gives the sky room to breathe. Centred subjects feel static; off-centre subjects feel like something is happening.
Most phones and cameras can show a grid overlay in-camera. Turn it on and leave it there.
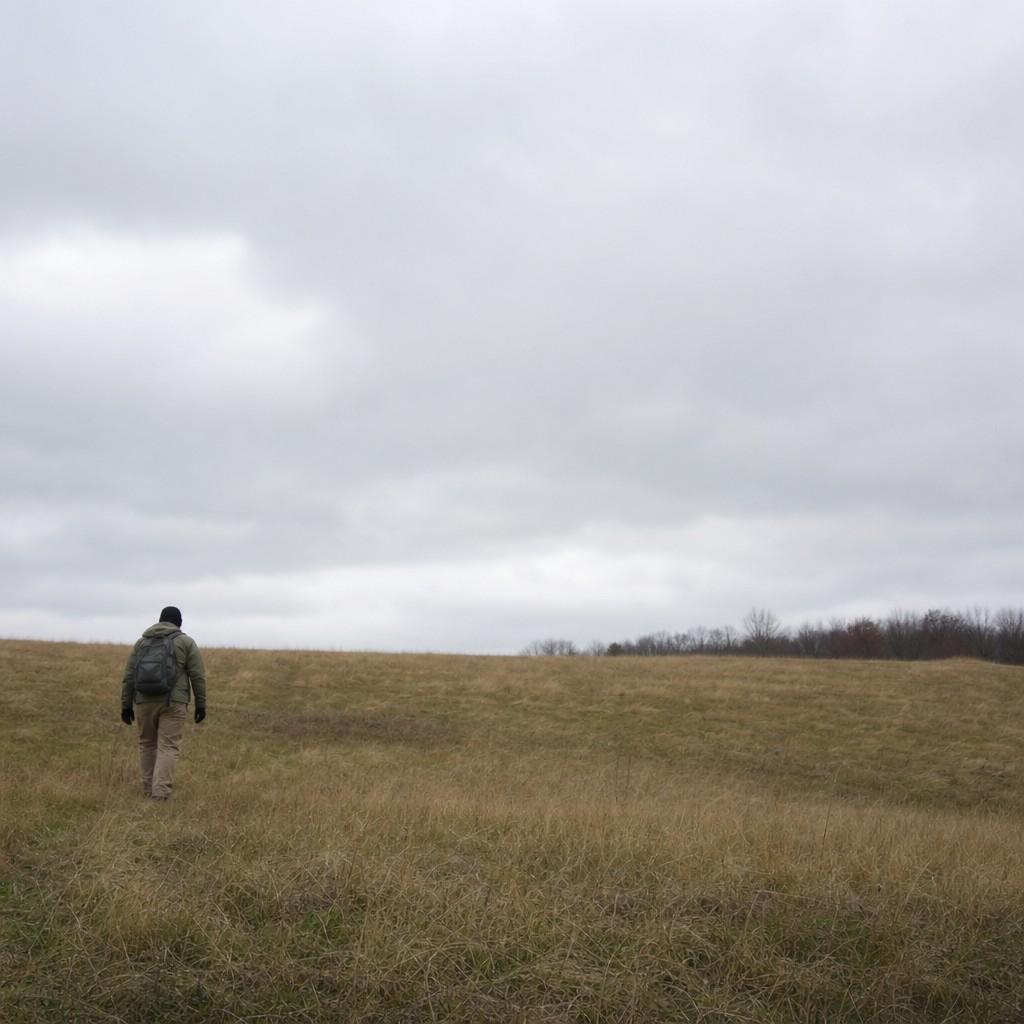
Clear the Background First
Clutter in the background is what ruins most outdoor shots. A branch growing from a head, a parked car behind a flower, a bright shirt that pulls the eye away from the subject.
Before raising the camera, look past the subject to what is behind them.
A few feet of movement fixes more than any editing app. Step left, step right, crouch. A plain dark tree line, a patch of sky, or a stretch of soft grass reads as a clean background. The subject stands out without any effort.
Simple backgrounds are the fastest single upgrade in outdoor photography.
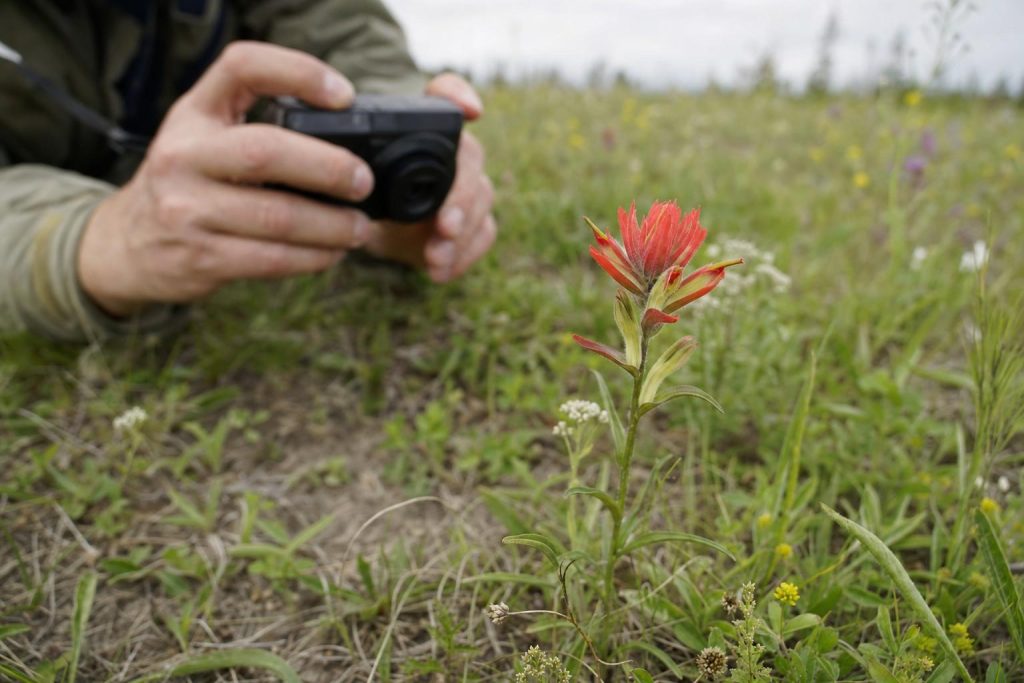
Add Foreground for Depth
A photo taken at eye height of a flat scene can look like a postcard. To make the viewer feel like they are standing there, bring something into the near edge of the frame.
A patch of wildflowers in the foreground, a mossy rock, a low-hanging branch. It gives the eye a near-to-far journey: foreground to subject to background.
The foreground does not need to be sharp. A blurred near element can work well.
This is also where knowing how natural light falls across a scene pays off: foreground lit differently from the background adds another layer of depth.
Change Your Angle
The default outdoor photo is taken from wherever you happen to be standing. Getting low changes almost everything.
Crouch to a child’s eye level and the background shifts. Drop to ground level beside a flower and the whole world behind it becomes sky. Raise the camera above your head and look down at a spread of wildflowers across a meadow.
These are not special techniques. They are five seconds of movement.
Getting low changes almost everything: the background shifts, the subject fills the frame, and the photo feels new.
Follow Leading Lines
Lines pull the eye. A path winding through a forest, a fence disappearing into the distance, a river bending away through a field.
When a line in the scene points toward your subject, use it. Set up so the line enters from a corner of the frame and leads the viewer’s eye where you want it to go. Paths, shorelines, rows of trees, bridges, the edge of a road: all of them can work.
The key is deliberate placement. A line pointing away from the subject works against you; a line pointing toward it works for you.
Leading lines are also one of the easiest things to practice. On any walk, look for lines before you look for subjects.
Fill the Frame
When in doubt, get closer. Most outdoor photos would be stronger with less empty space and a subject that fills more of the frame.
A flower that takes up a third of the frame is fine. The same flower filling the frame is often better. A child in a wide field can be poetic; the same child’s face, expressions and all, is almost always stronger.
This does not mean zooming in at the cost of sharpness. Walk toward the subject. Closing the distance gives you sharper detail and a cleaner background at the same time, for the same reason getting your camera settings right for outdoor photos does: less visual noise, more of what matters.
Before You Shoot
Composition does not have to be a checklist you run through before every frame. Pick one rule to try on a given outing and use it consciously. After a while these moves become automatic.
The habit is the same every time: look at the background, find the lines, decide where the subject sits in the frame.
Composition is the part of the photo you control completely, regardless of gear, weather, or light.
That is worth slowing down for.
Recent Comments