Taking Photos of Wildflowers on Trails
You’ll catch wildflowers at their best by checking local forums and ranger stations for bloom predictions, then timing your visit for golden hour or overcast conditions when colors pop without harsh shadows.
Set your aperture between f/13 and f/16 for sharpness, or switch to f/8 with faster shutter speeds if wind picks up. Get down to 6-12 inches from ground level and use trail curves as natural leading lines to add depth.
When you share photos online, skip exact GPS tags to protect these fragile spots from overcrowding: there’s more to reflect on about composition and responsible practices.
Find Peak Bloom Times and Lesser-Known Wildflower Locations
The secret to photographing wildflowers at their best starts with knowing when and where they’ll appear. Research historical bloom data through local forums and wildflower websites for accurate bloom prediction in your region. These tools track current conditions and help you time your trips perfectly.
Contact ranger stations directly: they’ll point you toward hidden gems most photographers miss entirely. Study weather patterns from previous years, since temperature and rainfall dictate when flowers emerge.
Focus on diverse ecosystems like alpine meadows or coastal areas where multiple species bloom simultaneously.
Download identification apps to locate prime spots based on real-time reports from other explorers.
Before embarking on wildflower photography hikes, consult with ranger stations and your doctor to ensure you’re physically prepared for trail conditions and can safely carry camera equipment.
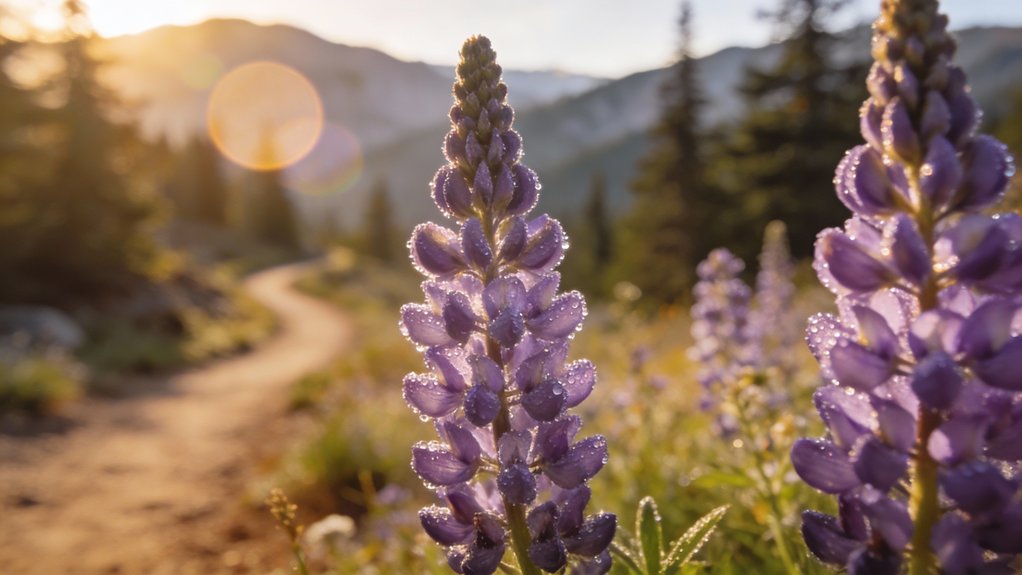
Pick Golden Hour or Overcast Days for Vivid Colors
Once you’ve pinpointed the perfect wildflower location, lighting becomes your most powerful tool for capturing vibrant colors.
The golden hour, that magical window right after sunrise or before sunset, bathes flowers in warm, soft light that makes colors pop naturally. You’ll get a built-in spotlight effect without harsh shadows.
Overcast days work equally well, offering diffused light that eliminates glare and preserves delicate hues.
The clouds act like a giant softbox, revealing textures and details you’d miss in direct sunlight.
To ensure your photos remain sharp and clear, clean the lens with a microfiber cloth before shooting, as smudges can dull the vibrant colors you’re working to capture.
Plan your shoots around these conditions, and you’ll notice an immediate improvement in your wildflower photography.
Set Aperture Between F/13-F/16 for Sharp Wildflower Details
Your camera’s aperture controls how much of your wildflower scene stays sharp from front to back. Setting it between f/13 and f/16 gives you the greatest depth of field, keeping flowers at different distances in focus while reducing lens aberrations that can soften your images.
These aperture settings work best in calm conditions when you’ve got enough light for proper exposure.
If wind picks up, you’ll need to adjust: switch to f/8 and increase your shutter speed to freeze motion.
This range delivers the technical sharpness you want without overthinking it, letting you focus on composition and exploring trails freely.
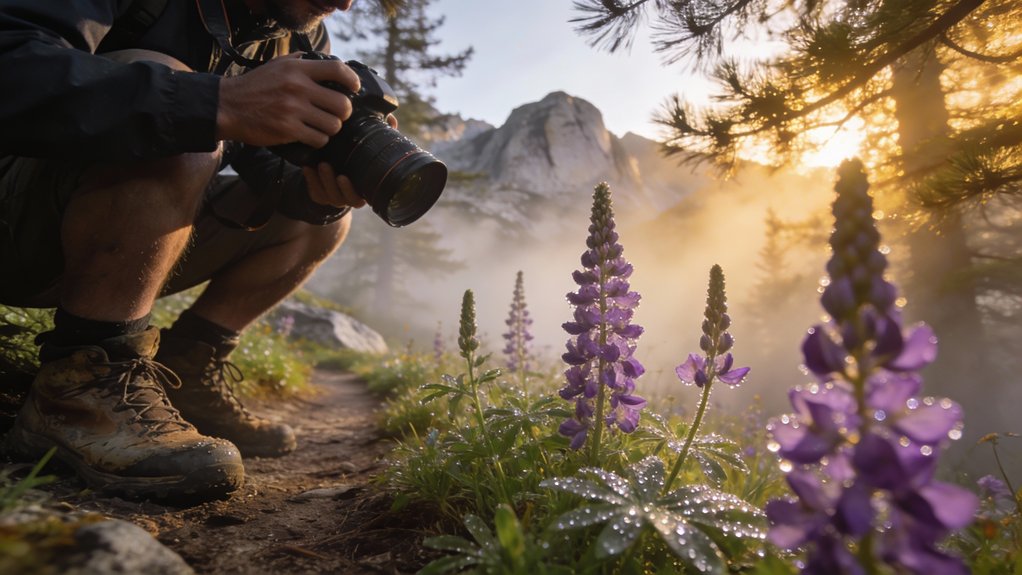
Get Low and Frame Wildflowers From On-Trail Positions
Sharp technical settings won’t matter if you’re standing upright on the trail shooting downward at wildflowers five feet away.
You’ll capture flat, uninspiring images that miss the flowers’ true character.
Instead, crouch or kneel on the trail itself, getting your camera within 6-12 inches of ground level.
This creates intimate perspectives that reveal delicate details against mountain backdrops. Low angles transform ordinary blooms into compelling subjects.
Use rocks, grasses, or trail edges as natural frames around your wildflowers, adding depth without trampling vegetation off-trail.
These framing techniques keep you positioned responsibly while delivering professional results that showcase nature’s freedom.
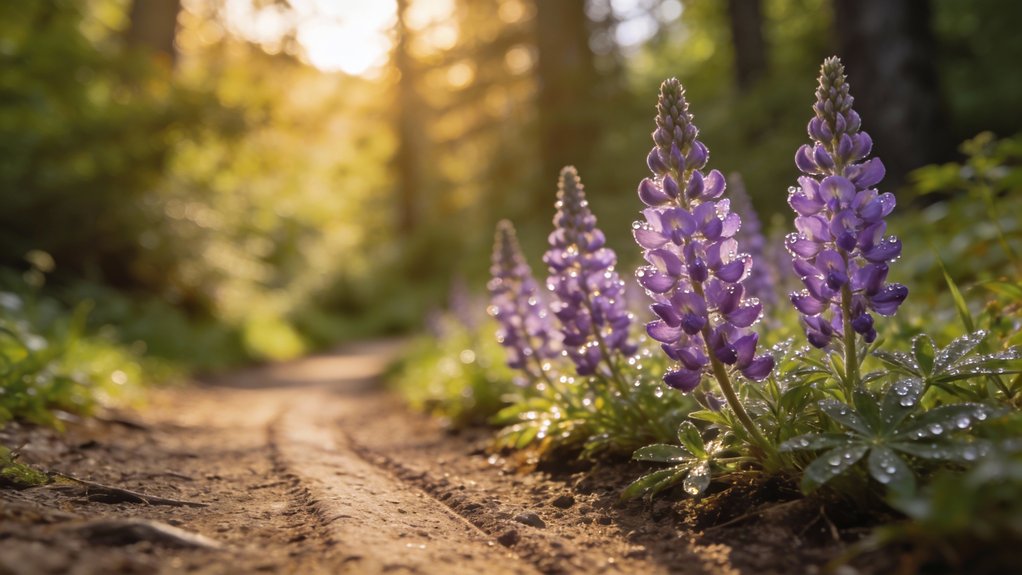
Use Trail Curves and Foreground Blooms to Add Depth
When you spot a trail bending ahead through a wildflower meadow, you’ve found the perfect setup for adding visual depth. The curve creates natural leading lines that pull viewers into your frame.
Position foreground blooms 2-3 feet from your lens to establish layers: they’ll anchor the composition while the trail guides eyes toward distant peaks or forests.
Switch to dynamic angles by shooting from knee-height or lower. A wide-angle lens at f/11 to f/16 keeps both elements sharp.
Move along the trail’s edge to test different perspectives until the curve and flowers work together, creating that satisfying three-dimensional effect you’re after.
Mix Purple and Yellow Wildflowers for Color Contrast
After you’ve built depth with trails and layered blooms, color pairing becomes your next powerful tool.
Purple lupines paired with yellow buttercups create instant visual punch through color harmony.
Set your aperture wide, f/2.8 to f/4, to blur backgrounds and make foreground colors pop.
Position yellow blooms up front leading into purple patches behind. This composition technique guides viewers naturally through your frame.
Shoot during golden hour when angled light saturates both hues intensely.
The complementary purple-yellow combo feels balanced yet energetic, giving you images that catch attention without looking forced.
You’re simply letting nature’s palette do the heavy lifting.
Freeze Wind-Blown Wildflowers With Faster Shutter Speeds
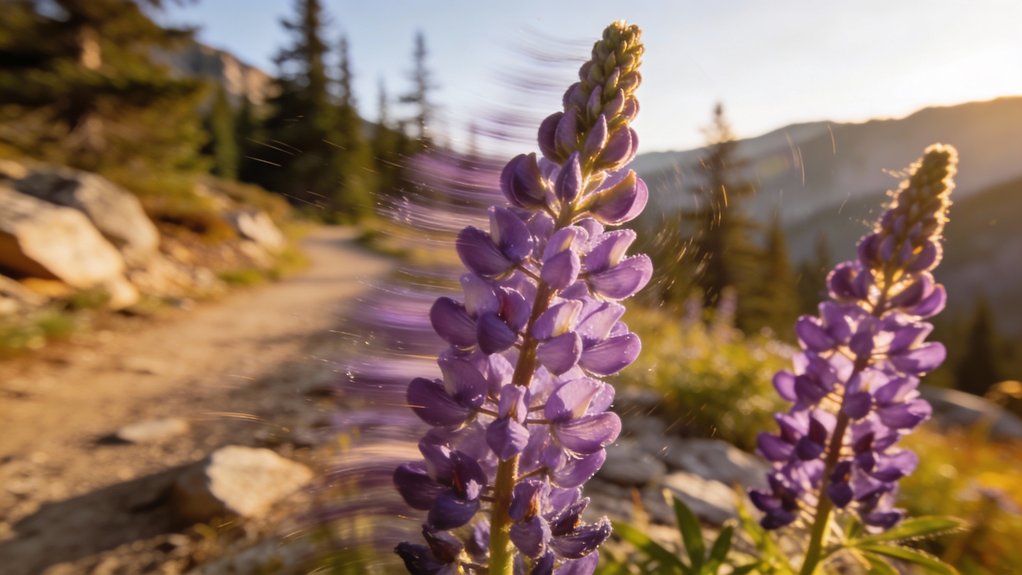
Freeze Wind-Blown Wildflowers With Faster Shutter Speeds
Wind turns wildflower photography into a test of technical control. You’ll need shutter settings of at least 1/500th of a second to freeze moving petals and stems. Stronger gusts require even faster speeds.
Bump your ISO to maintain proper exposure; some noise beats motion blur every time. Switch to continuous shooting mode and fire off quick bursts.
You’re playing the odds, and more frames mean better chances of nailing one sharp image. A fast lens with a wide aperture helps in dim conditions.
Try different angles while shooting. The freedom to experiment separates decent wildflower shots from exceptional ones.
Skip Exact Locations When Posting to Protect Blooming Areas
Skip Exact Locations When Posting to Protect Blooming Areas
Your stunning wildflower photos carry an unintended risk when you tag the exact GPS coordinates or specific trail names. Viral posts have destroyed popular bloom sites through trampling and overcrowding within days of posting.
Geotagging wildflower locations can lead to irreversible damage as crowds descend on fragile blooming areas within hours of viral exposure.
Wildflower conservation starts with responsible sharing practices. Instead of pinpointing locations, mention general regions like “Northern Cascades” or describe the flower species you found.
This approach lets others explore freely while protecting delicate ecosystems from mass traffic. You’ll still inspire adventure and appreciation for nature’s beauty.
The wildflowers you photograph today will bloom again next season if you keep their exact whereabouts to yourself.
Recent Comments